I just love making books.
. .mini-albums for photos, journals, books from old books, you name it, I love
it! Even though I do love making books
(did I already say that?), I think the embellishing is my favorite part. Ribbon is my go to embellishment every time
and even though I have way too much ribbon, I never seem to have the right
color.
Solution: Just pull out the
Rit ® Dye, plastic bowls, scissors, and LOTS of white seam binding. I use Hug Snug Seam Binding by Lawrence
Schiff Silk Mills, Inc. I order mine
from Amazon. It grabs the dye and I can
custom dye my seam binding to match my projects.
Let’s dye some seam
binding!
What you need:

1. Cut off several yards of seam binding for each
color of dye that you want to use.
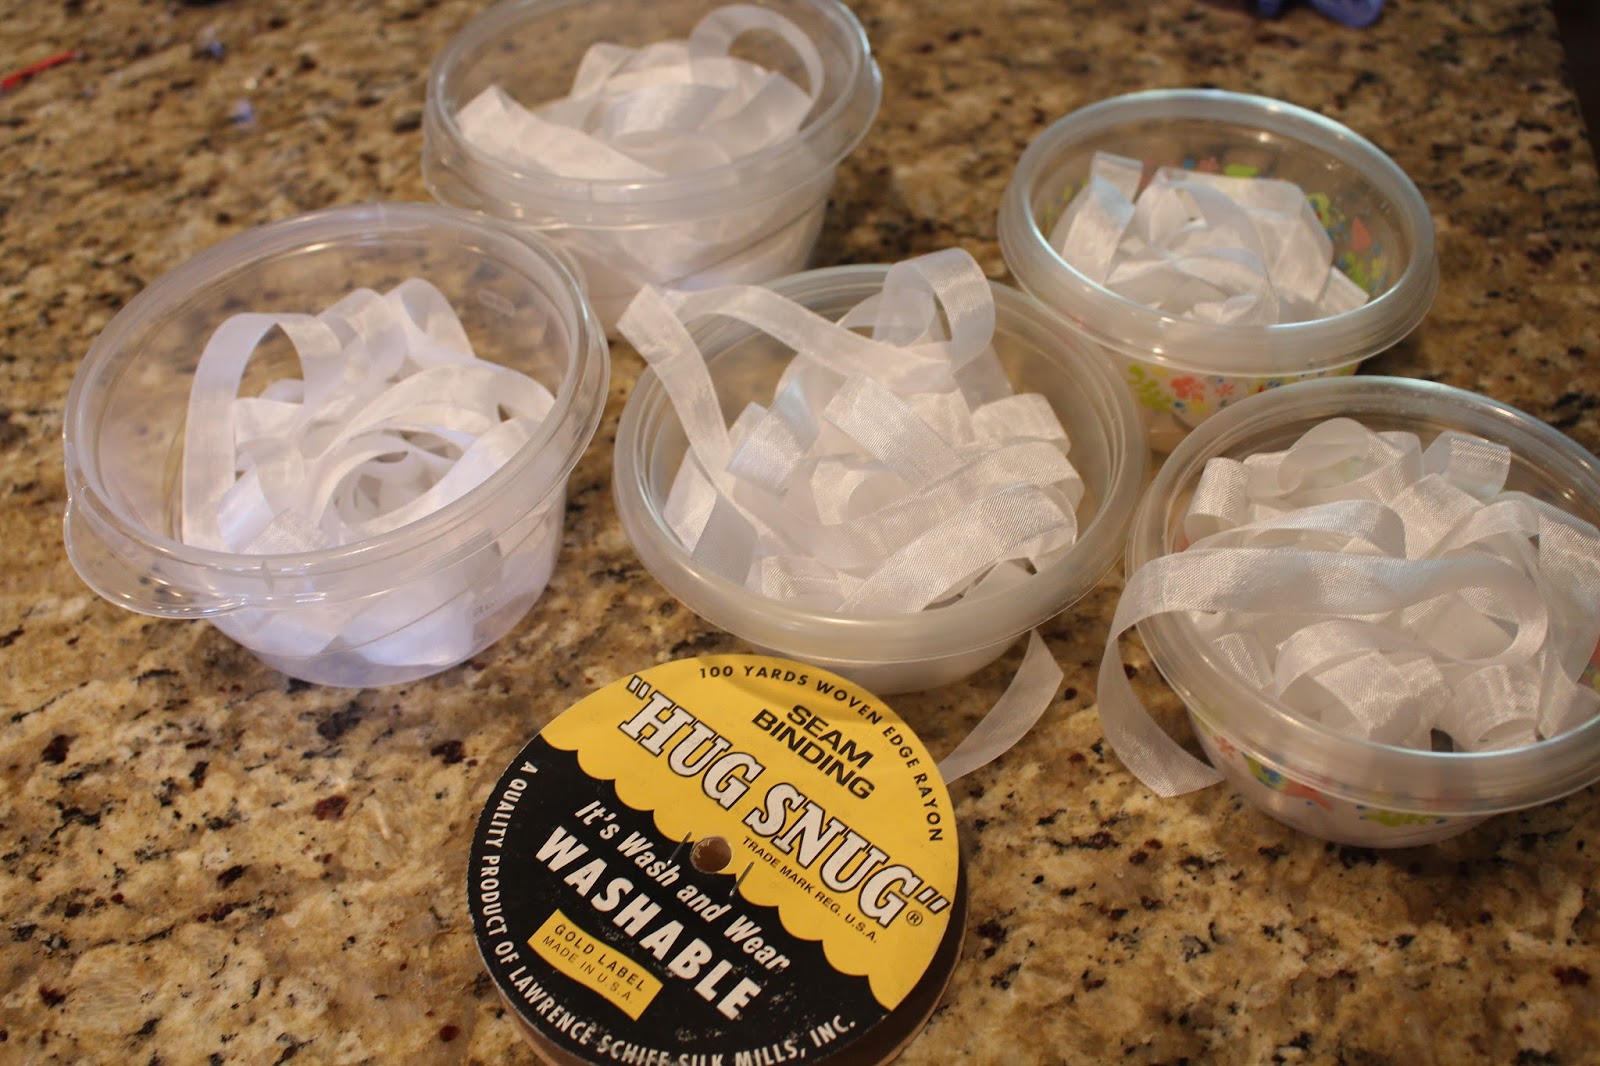
2. Fill each of the plastic bowls (not too full) with hot water, add dye color (I eyeball it and test the color on a paper towel).

Stirring to mix the dye and add your seam binding.

4. Microwave on high for about 25 seconds. Don’t heat too much as you might set your seam binding on fire!

5. Remove from microwave being careful not to burn your fingers and rinse with cold water until water is clear.


6. Pat dry with paper towel. Do not worry if some color bleeds onto the
paper towel as when the seam binding is dry the color is permanent!

7. Dry.
I like to pin mine to clothes hangers and air dry on my porch.


While I had my dye out I thought I would try 2-color dyeing. This is what I got. Not what I had in mind, but still cute, nonetheless.

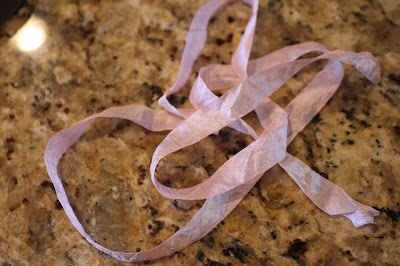
And I had some leftover beet juice (we like the beet pickles) so I threw a scrap into it. The result was a light pink.

Now this is what you
have! Isn’t it beautiful? Looks just like little desserts.

Roll onto
“spools”. I made mine from cardstock cut
t 4-1/4” by 3 ½”, cut small slits at top and bottom and fold back the middle
section, punch a hole in the top and hang onto a ring.

Or you can just put your seam binding in
storage bags, glassine bags, plastic containers, etc. I just love looking at mine hanging in my
studio.

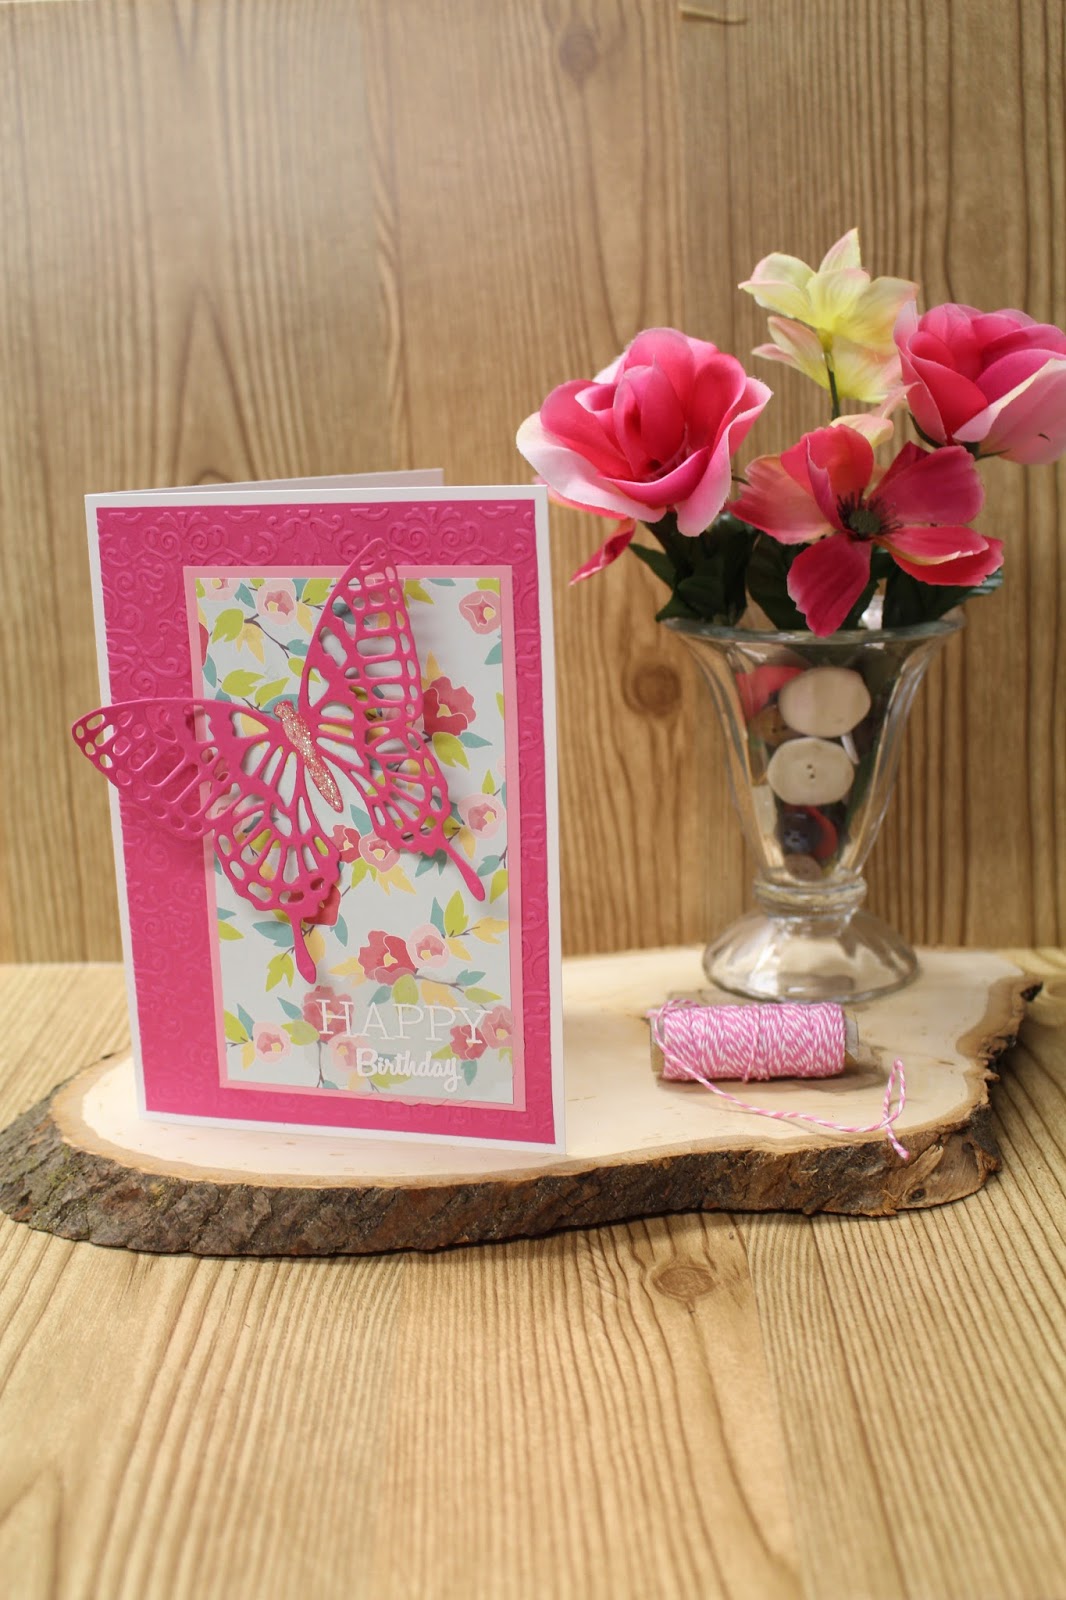
Okay, here are some
small books I made and then embellished with my dyed seam binding.


And more books that I
have made. I will do a tutorial on how I
made these later.

While I had my dye out I thought I would try 2-color dyeing. This is what I got. Not what I had in mind, but still cute, nonetheless.

And I had some leftover beet juice (we like the beet pickles) so I threw a scrap into it. The result was a light pink.

Have a wonderful day!
“Breathe
in inspiration and trust yourself!”


